


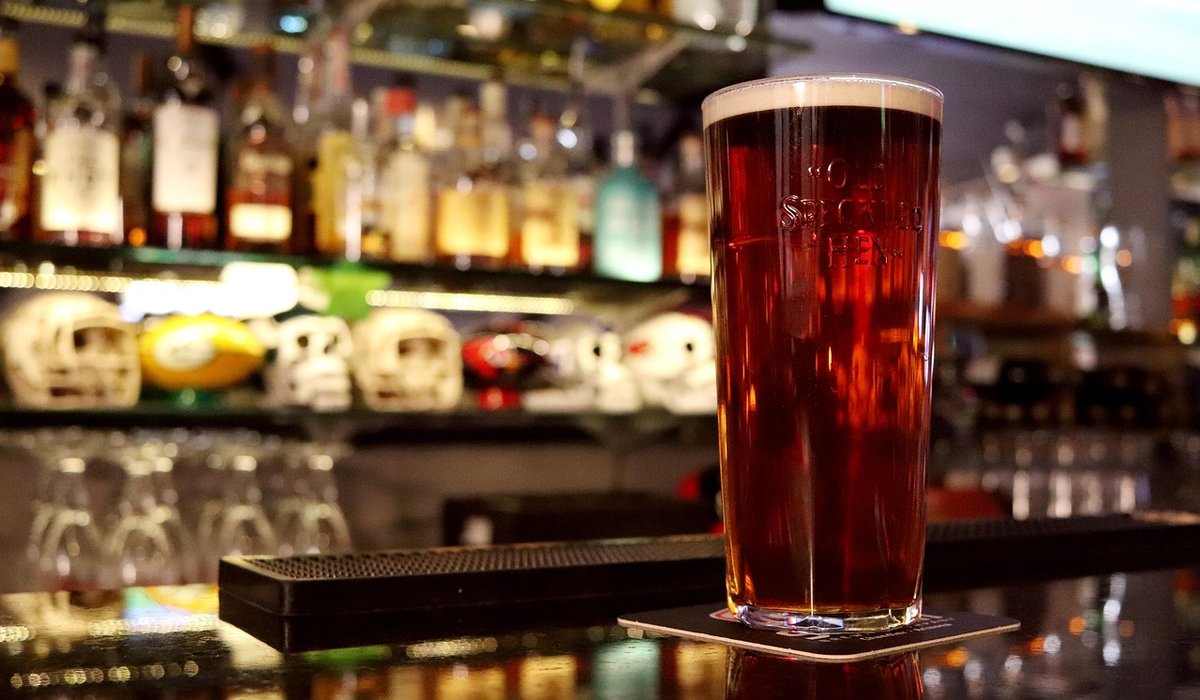
Why English Bitter Is the Perfect First Brew
Few things feel more satisfying than pulling a pint of your own bitter at the end of a long week. It is the beer that built the British pub trade, and it is arguably the most forgiving style a home brewer can tackle. The alcohol is modest, usually between 3.8% and 4.5%, so a mistake will not leave you with an undrinkable rocket fuel. The malt bill is simple, the hopping is restrained, and the whole affair can be put together in an afternoon with equipment you probably already own.
Bitter gets its name not from any great bitterness on the palate, but from the historical distinction between it and the sweeter milds that dominated taverns in the nineteenth century. What you are aiming for is a balanced, sessionable pint: a gentle biscuit malt backbone, a firm but polite hop bitterness, and just enough fruity yeast character to keep things interesting. Get those three things right and you will have something you would happily pay for in a proper back-street boozer.
The Grain Bill: Keep It Pale and Simple
Start with a good English pale malt. Maris Otter is the traditional choice and for good reason: it brings a warm, slightly nutty character that is hard to fake with continental malts. Around 4kg of it will give you roughly 23 litres of beer at a sensible strength. To that, add a small amount of crystal malt, perhaps 250g of a medium grade, for colour and a touch of caramel sweetness. A handful of torrified wheat, no more than 150g, will help with head retention and give the beer that lovely tight foam you see on a well-kept pint.
Resist the urge to complicate things. Every extra specialty grain muddies the picture and makes it harder to learn from your brew. Your first bitter should be a benchmark, not a showpiece.
- 4kg English pale malt
- 250g medium crystal malt
- 150g torrified wheat
Mash at around 66°C for an hour. That temperature sits in the middle ground, giving you a beer with body but not so much that it becomes cloying. If you can hold it closer to 65°C, you will get a slightly drier, moreish pint that disappears faster than you expect.
Hops: English Varieties, Modest Amounts
English hops are the soul of a bitter, and the classic trio is Goldings, Fuggles and Challenger. You do not need all three. For a first attempt, pick a single variety for bitterness and a second, or the same one again, for aroma. A total of around 60 to 70 grams across the boil is plenty for this style.
Add your bittering charge at the start of a 60-minute boil. Something in the region of 35 to 40 grams of Challenger will give you a clean, firm backbone without the harshness you get from over-hopping. With 15 minutes left, add 15 grams of Goldings for flavour. Then, at flameout, throw in another 15 grams and let it steep for ten minutes before chilling. This late addition is where the gentle floral and earthy notes come from, the ones that make a proper bitter smell like a proper bitter.
- Bittering: 35–40g Challenger at 60 minutes
- Flavour: 15g Goldings at 15 minutes
- Aroma: 15g Goldings at flameout, steeped ten minutes
Yeast and Fermentation: Where the Pint Is Won
If there is one piece of advice worth pinning above your fermenter, it is this: fermentation temperature matters more than any ingredient choice you will make. English ale yeast is a wonderful thing, but it is also a diva. Push it too warm and you will get a pint that tastes of bananas and pear drops, more like a Belgian ale than a bitter. Keep it too cool and the yeast will stall, leaving you with a sweet, underattenuated mess.
A clean, flocculant English strain is what you want. Something that drops bright in the bottle and lets the malt and hops speak for themselves. Pitch a healthy starter or a fresh pack, and hold the fermenter at a steady 18°C to 20°C for the first three or four days. This is the critical window. After that, you can let it rise a degree or two to encourage the yeast to finish the job and clean up after itself.
Do not rush it. Give the beer ten to fourteen days in the fermenter, then check your gravity readings on consecutive days. When they are stable, it is done. Racking to a secondary vessel is optional, but if you do it, be gentle. Oxygen is the enemy of a delicate bitter.
Packaging and the Wait
You can bottle or keg this beer, and both have their merits. Bottles are easier for a beginner and let you share the results around. Prime with around 80g of sugar dissolved in a little boiling water, mixed gently into your bottling bucket first. Aim for a carbonation level that is soft and natural, not fizzy. British bitter should have a gentle condition, like a cask pint that has been well looked after, not the mouth-prickling fizz of a lager.
Keep the bottles somewhere warm, around 20°C, for a fortnight to carbonate. Then move them somewhere cool for at least two weeks, ideally four. This conditioning period is where the beer rounds out, the flavours knit together and the last of the yeast drops to the bottom. A young bitter tastes sharp and disjointed. A patient one tastes like a proper pint.
A Pint to Be Proud Of
Brewing a simple English bitter at home is less about chasing perfection and more about learning the rhythm of the style. Get your pale malt base right, keep your English hops modest, and above all, control that fermentation temperature. Do those things and you will end up with a beer that is balanced, drinkable and deeply rewarding. Pour it into a clean glass, let it settle for a moment, and raise it to the long tradition of the British tavern. You have earned it.


Leave a reply